

Holla, Flutter Ninija Please.. lol
We will be looking at how to build a simple news app using HarperDB Api with Flutter. The aim of this article is to show mobile developers how to use HarperDB API as a backend service for their apps. #HarperDBHackathon
HarperDB is a geo-distributed database with hybrid SQL & NoSQL functionality in one powerful tool, accessed via a REST API.
First, you must be familiar with Flutter to be able to get along but if you don't, that's fine. Get started here.
Tools you will need:
- Text Editor or IDE
- Postman
- HarperDb account.
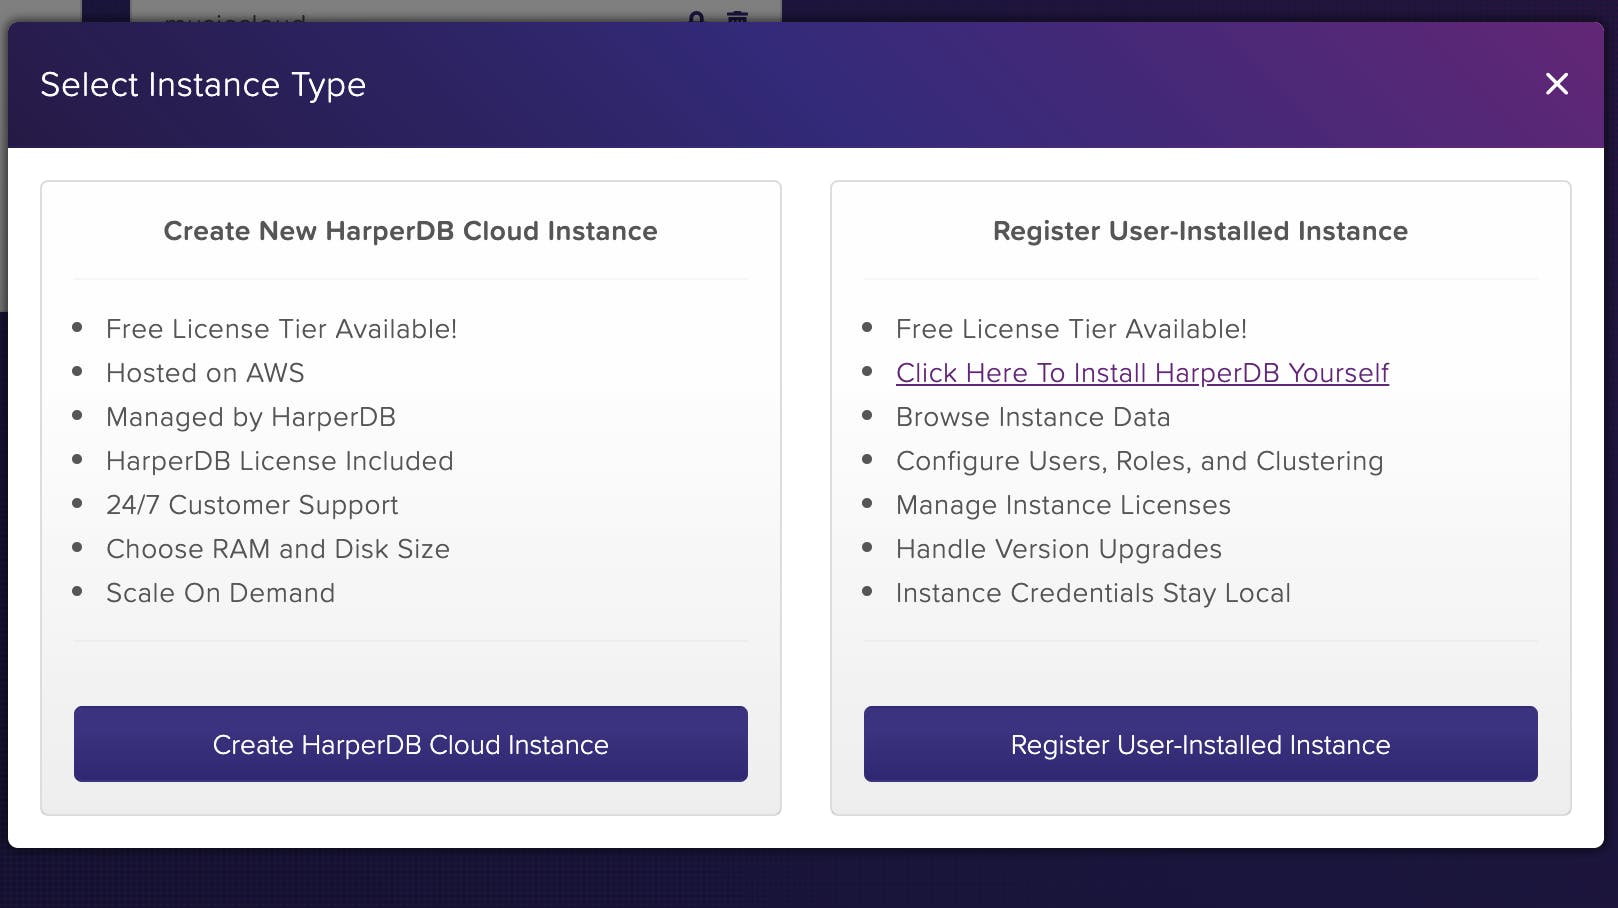
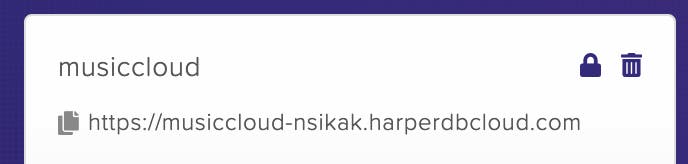
1. Create an account on HarperDB .
Sign up on HarperDb and create a cloud instance
2. Basic Authentication
HarperDB introduced Token based authentication in version 2.3.0 with JWTs.
Copy the base URL from your dashboard. This base URL will be used for making all network request to HarperDb Cloud
Users must initially create tokens using their HarperDB credentials. The following POST body is sent to HarperDB. No headers are required for this POST operation.
{
    "operation": "create_authentication_tokens",
    "username": "username",
    "password": "password"
}
You will get a response with "operation_token": and refresh_token.
NOTE: You will have to add "operation_token": as a header to all your API request.
Authorization: Bearer [Your TOKEN]
3. Setup Database
- Create Schema: A Schema in HarperDB is similar to a Database in a traditional RDMS like MSSQL or MySQL. Schemas hold logical groupings of tables.
Send the following POST body to create a Schema:
{
    "operation": "create_schema",
    "schema": "dev"
}
- Create a Table: Tables in HarperDB are schema-less, so we don't need to add any attributes other than a
hash_attributeto create this table. A hash attribute is an attribute that defines the unique identifier for each row in your table.
Send the following POST body to create a Schema:
{
    "operation": "create_table",
    "schema": "dev",
    "table": "news",
    "hash_attribute": "id"
}
- Insert News: Now that we have a table, we can insert data by specifying fields and values as JSON. You can do this using postman.
{
    "operation": "insert",
    "schema": "dev",
    "table": "news",
    "records": [
        {
            "id": 4,
            "channel": "Techpoint",
            "title": "Google’s African funding, Airtel partners with AXA Mansard, Clubhouse-ish on Facebook",
            "type": "Business",
            "time": "2 hour ago",
            "link": "https://techpoint.africa/2021/06/22/https-techpoint-africa-2021-06-21-techpoint-digest-108/",
            "image_url":"https://techpoint.africa/wp-content/uploads/2019/01/IMG_1753-scaled.jpg"
        }
    ]
}
Oh, nice. We are done setting up our cloud data source:
4. Fetch Data from API:
For this project, I am using Dio Network library for making the HTTP request to my backend API. Dio is simple and easy to set up. So first, create a model to serialize the data coming from the API.
class NewsModel {
  String channel = "";
  String title = "";
  String type = "";
  String time = "";
  String image_url = "";
  String link = "";

 ...........

  NewsModel.fromJson(Map<String, dynamic> json)
      : channel = json['channel'],
        title = json['title'],
        type = json['type'],
        time = json['time'],
        link = json['link'],
        image_url = json['image_url'];
}
To fetch news from API, you have to use SQL statement passed as BODY to the request.
class NewsRemoteDatasourceImpl extends NewsRemoteDatasource {
  NewsRemoteDatasourceImpl(Dio dioClient) : super(dioClient);
  @override
  Future<List<NewsModel>> getNews(String token) async {
    try {
      /**
       * passing token for Authorization
       */
      dioClient.options.headers['Authorization'] = "Bearer " + token;

      /**
       * fetch news from API using SQL statement passed as BODY
       */
      var response = await dioClient.post(Constant.API_URL,
          data: {"operation": "sql",
"sql": "SELECT * FROM dev.news"});

      return List<NewsModel>.from(
          response.data.map((x) => NewsModel.fromJson(x)));
    } on DioError catch (error) {
      throw error.response!;
    }
  }
UI setup:
We will be using a ListView widget to show the list of news. So first, create an item(a single item in the list).

 Container(
      child: Column(
        crossAxisAlignment: CrossAxisAlignment.start,
        children: [
          Row(
              crossAxisAlignment: CrossAxisAlignment.start,
              mainAxisAlignment: MainAxisAlignment.spaceAround,
              children: [
                Expanded(
                    child: Column(
                  mainAxisSize: MainAxisSize.max,
                  crossAxisAlignment: CrossAxisAlignment.start,
                  children: [
                    Text(
                      model.channel,
                      style: TextStyle(
                          fontWeight: FontWeight.w600,
                          color: Color(0xFF717171)),
                    ),
                    SizedBox(
                      width: 5,
                    ),
                    Text(
                      model.title,
                      style:
                          TextStyle(fontWeight: FontWeight.w700, fontSize: 16),
                    ),
                  ],
                )),
                SizedBox(
                  width: 20,
                ),
                ClipRRect(
                    borderRadius: BorderRadius.circular(8.0),
                    child: CachedNetworkImage(
                      imageUrl: model.image_url,
                      height: 100,
                      width: 100,
                      imageBuilder: (context, imageProvider) => Container(
                        decoration: BoxDecoration(
                          image: DecorationImage(
                            image: imageProvider,
                            fit: BoxFit.cover,
                          ),
                        ),
                      ),
                      placeholder: (context, url) => ClipRRect(
                          borderRadius: BorderRadius.circular(8.0),
                          child: Container(
                            height: 100,
                            width: 100,
                            color: Colors.grey,
                          )),
                      errorWidget: (context, url, error) => Icon(Icons.error),
                    ))
              ]),
          SizedBox(
            height: 5,
          ),
          Row(children: [
            Text(
              model.type + " .   " + model.time,
              style: TextStyle(
                  fontWeight: FontWeight.w600,
                  color: Color(0xFF717171),
                  fontSize: 12),
            ),
          ]),
          SizedBox(
            height: 5,
          ),
          Divider(color: Colors.grey)
        ],
      ),
    );
To prepare the data for the UI, you have to write a state notifier that will let the UI know when the data is Loading , Success, Idle or Failed.
You can define the state using enum
enum ViewState { Idle, Loading, Success, Failed }
Create a ViewModel class that extends ChangeNotifier. ChangeNotifier is a simple class included in the Flutter SDK that provides change notification to its listeners.
class NewsViewModel extends ChangeNotifier {
  final repository = KiwiContainer().resolve<NewsRepository>();
  List<NewsModel> news = [];

/**
 * fetch news from the repository for the UI
 */
  Future<void> getNews() async {
    try {
      setState(ViewState.Loading);
      /**
   * Get basic auth token to be able to fetch news from HarperDB
   */
      await repository.getToken();
      var response = await repository.getNews();
      news.clear();
      news.addAll(response);
      notifyListeners();
      setState(ViewState.Success);
    } catch (error) {
      setState(ViewState.Failed);
    }
  }
}
Show news on ListView Widget by getting the news response from the ViewModel
class NewsListPage extends StatefulWidget {
  @override
  State<StatefulWidget> createState() => NewsListPageState();
}

class NewsListPageState extends State {

 NewsViewModel newsViewModel = NewsViewModel();
  @override
  void initState() {
    // TODO: implement initState
    super.initState();
    //fetch news
    newsViewModel.getNews();
  }

  @override
  Widget build(BuildContext context) {
    return ChangeNotifierProvider<NewsViewModel>(
        create: (context) => newsViewModel,
        child: Consumer<NewsViewModel>(
            builder: (context, model, child) => Scaffold(
                body: SafeArea(
                    child: RefreshIndicator(
                        onRefresh: () => newsViewModel.getNews(),
                        child: SingleChildScrollView(
                            child: Container(
                                padding: EdgeInsets.all(15),
                                child: Column(
                                  crossAxisAlignment: CrossAxisAlignment.start,
                                  children: [
                                    TopBar(),
                                    SizedBox(
                                      height: 30,
                                    ),
                                    model.news.isEmpty
                                        ? Container()
                                        : Briefing(
                                            model: model
                                                .news[model.news.length - 1]),
                                    SizedBox(
                                      height: 20,
                                    ),
                                    model.state == ViewState.Loading
                                        ? Center(
                                            child: CircularProgressIndicator())
                                        : _newsList()
                                  ],
                                ))))))));
  }
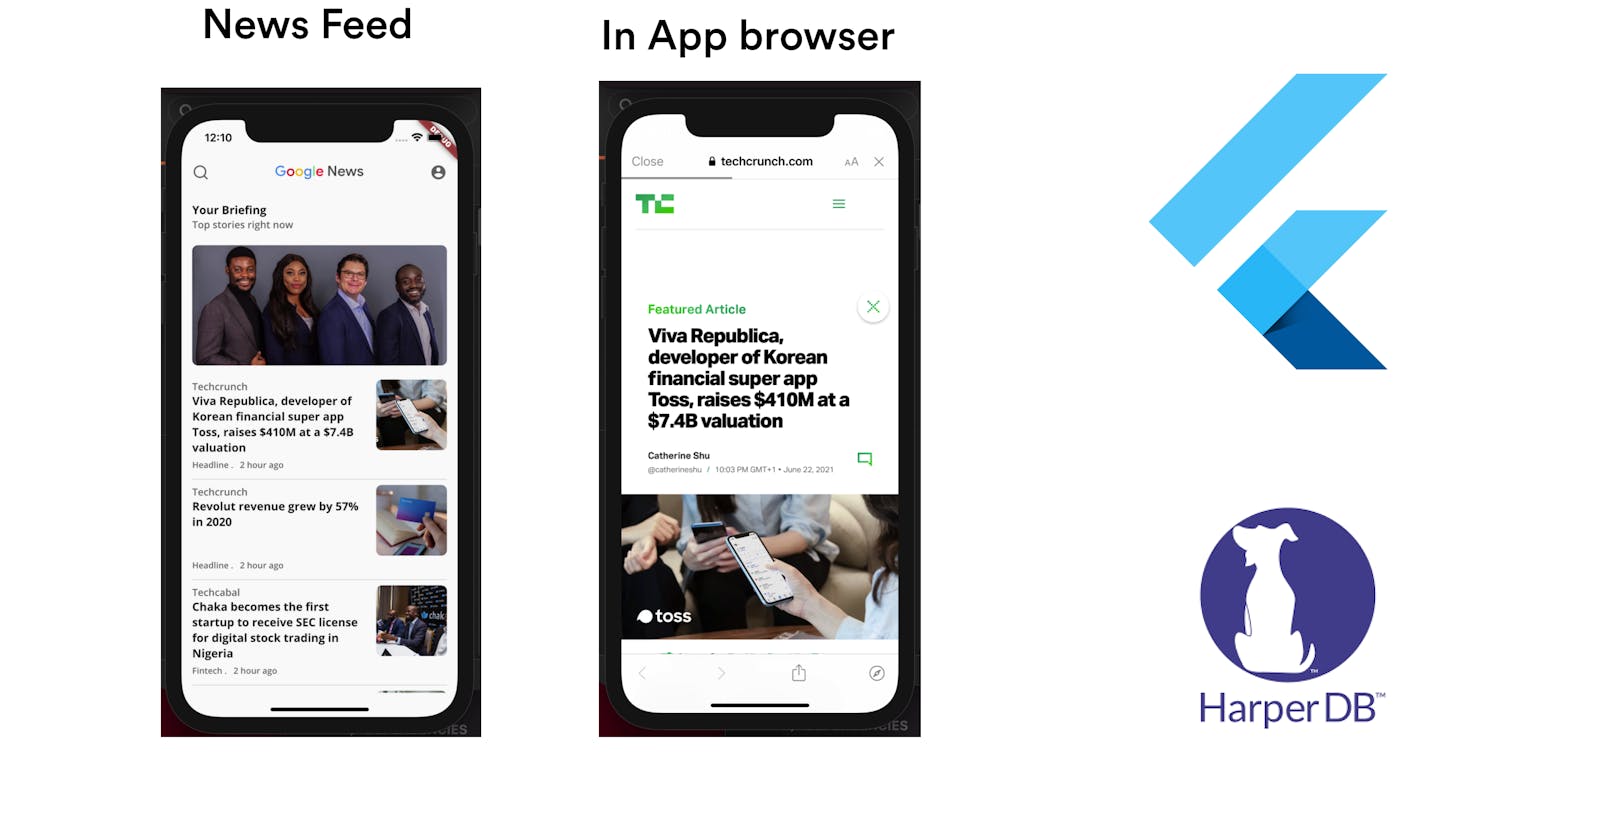
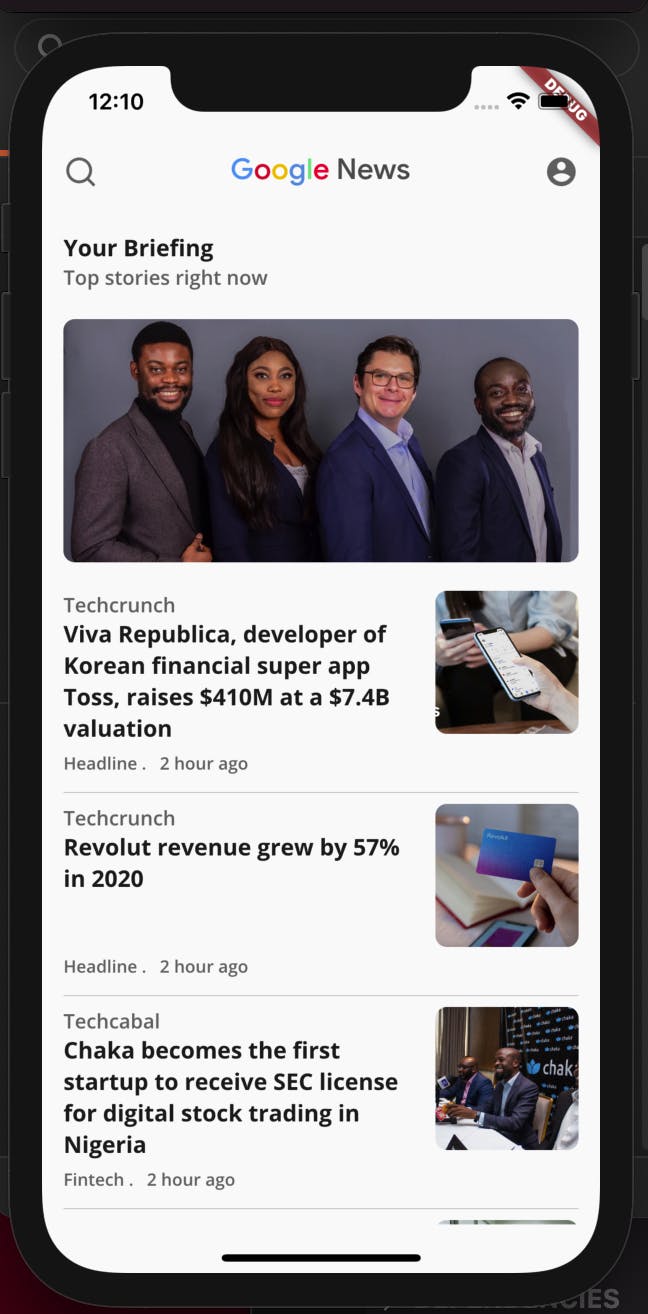
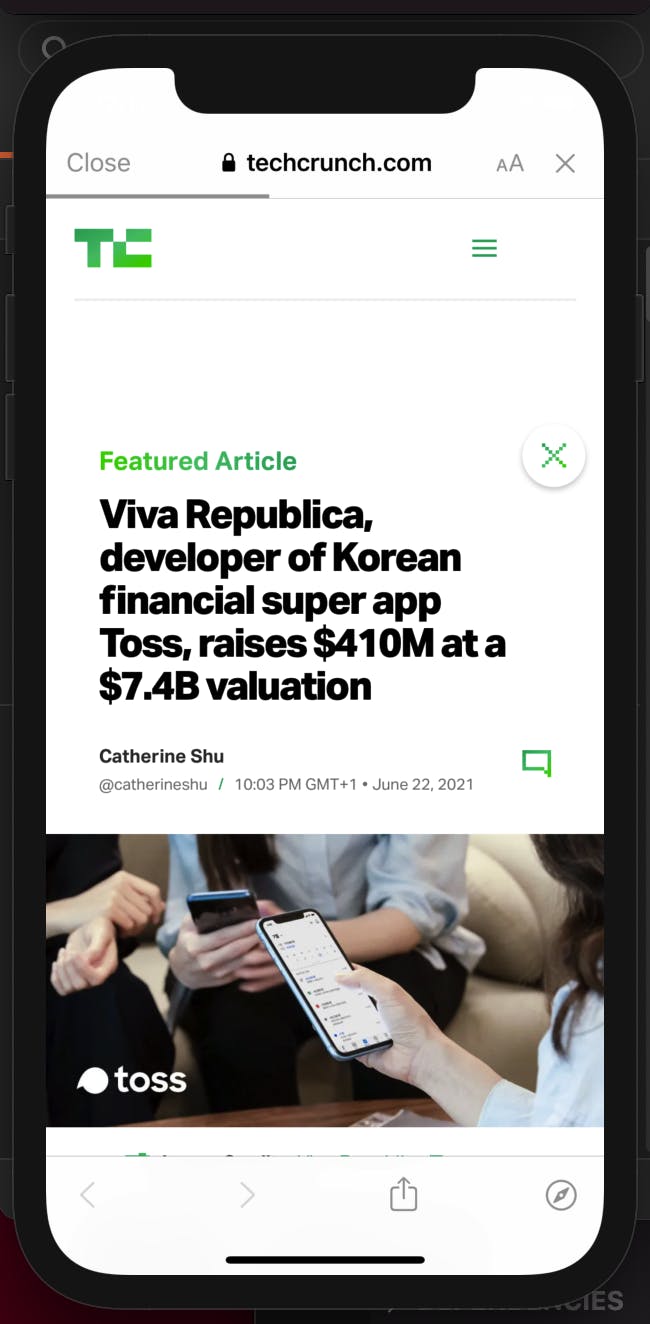
Remember, this is a news app that shows feeds from different websites. Therefore, we should be able to read the news through the link on a browser.
Clicking on any of the news items will launch an in-app browser screen.
check out the complete code on Github.
Thanks for checking out my first article on Hashnode. Tweet at hinsikak if you find this helpful